Animation compositing is the final step that brings animated scenes to life. Here's what you need to know:
- Combines character animations, effects, and backgrounds
- Allows tweaks without redoing entire scenes
- Keeps visuals consistent and adds final polish
Key techniques:
- Combining layers
- Adjusting colors
- Masking and detail work
- Background removal
- Tracking movement
Step-by-step process:
- Plan your project
- Organize files
- Set up your composition
- Add render passes
- Make final tweaks
- Render and deliver
Popular software options:
Quick Comparison:
| Software | Best For | Price Range | Key Feature |
|---|---|---|---|
| After Effects | Pros | $36/month | Adobe integration |
| Nuke | High-end | $3,469+/year | Advanced 3D |
| Fusion | Mid-range | Free - $295 | 3D workspace |
| HitFilm | Beginners | Free - $13/month | All-in-one package |
Advanced skills:
- Mixing 2D and 3D
- Adding particle effects
- Camera effect simulation
- Blending elements naturally
Remember: Good compositing is invisible. If it looks right, it is right.
Related video from YouTube
What is Compositing?
Compositing is where the animation magic happens. It's the final step that brings everything together.
Definition and Purpose
Think of compositing as building a sandwich. You've got your bread (backgrounds), meat (character animations), cheese (special effects), and condiments (render passes). Compositing stacks these layers to create one delicious final image.
The goal? Make it look like everything was cooked up in the same kitchen.
Where It Fits in Animation
Compositing is the bridge between making stuff and polishing it. Here's the animation recipe:
- Plan it out
- Create the ingredients
- Stack 'em up (That's compositing!)
- Add the final garnish
Why's it so important? Compositing lets you:
- Tweak without starting from scratch
- Keep everything looking consistent
- Add that extra sparkle
In big animation studios, compositors are the chefs who plate the final dish. They take everyone else's work and make it look tasty.
Compositing Elements
| Element | What It Does |
|---|---|
| Layers | Organizes stuff for easy tweaking |
| Plates | The base of your visual sandwich |
| Render Passes | Separates 3D elements like lighting and shadows |
| Adjustment Layers | Seasons the layers below |
Compositors (or "compers") use these ingredients to cook up the final look. They can adjust the recipe without having to bake a whole new cake.
This flexibility is a huge time-saver. It lets the animation kitchen make last-minute changes without burning the whole meal.
Key Compositing Methods
Compositing is where animations come to life. Let's dive into the main techniques:
Combining Layers
Layers are like transparent sheets stacked on top of each other. Each layer can hold different elements:
- Import elements into your software
- Arrange layers in order
- Adjust opacity and blending modes
Tip: Use adjustment layers in After Effects to apply changes to multiple layers at once.
Adjusting Colors
Color correction polishes your animation and sets the mood:
- Balance brightness and contrast
- Adjust hue and saturation
- Use color grading for tone
Masking and Detail Work
Masks control what's visible in your composition. They hide or reveal parts of a layer based on shapes you draw.
"Understanding how [masks] work is an essential skill for any After Effects artist, and this is just the beginning." - Kyle Hamrick, Senior Motion Designer at School of Motion
To use masks:
- Select the layer to mask
- Draw your mask with shape or pen tools
- Adjust mask properties
Background Removal
Chroma keying (green screen or blue screen) is the go-to method for background removal:
- Film against a solid color background
- Use keying tool to remove background color
- Fine-tune for clean edges
- Add new background layer
Tracking Movement
Motion tracking keeps added elements in sync with scene movement:
- Choose a high-contrast tracking point
- Analyze motion with tracking tool
- Apply tracked data to your element
Compositing Step-by-Step
Let's break down compositing into bite-sized chunks:
Planning Ahead
Map out your project first. Why? It helps you:
- Know what you're aiming for
- Figure out what stuff you need
- Spot potential headaches before they happen
Organizing Files
Keep your workspace tidy. Here's how:
- Set up folders that make sense
- Name your files consistently
- Keep raw footage, renders, and final stuff separate
Starting Your Project
1. Fire up your compositing software
2. Set your project specs (like resolution and frame rate)
3. Bring in your assets
Adding Render Passes
Time to bring your 3D renders to life:
1. Import your render passes
2. Stack 'em up in the right order
3. Use blending modes to mix passes together
Making Final Tweaks
Polish your work:
- Adjust colors and contrast
- Fine-tune effects
- Check for any weird glitches
Finishing and Sending
Wrap it up:
1. Render your final composition
2. Give it a once-over
3. Send it off in the right format
| Step | What to Do | Pro Tip |
|---|---|---|
| Plan | Set goals | Use a project management tool |
| Organize | Make folders | Stick to your naming system |
| Start | Set up project | Double-check your specs |
| Add Passes | Stack renders | Use adjustment layers for easy edits |
| Tweak | Refine everything | Take breaks to keep your eyes fresh |
| Finish | Render and deliver | Test on different screens if you can |
Compositing Software Options
Let's dive into some popular animation compositing software:
Adobe After Effects
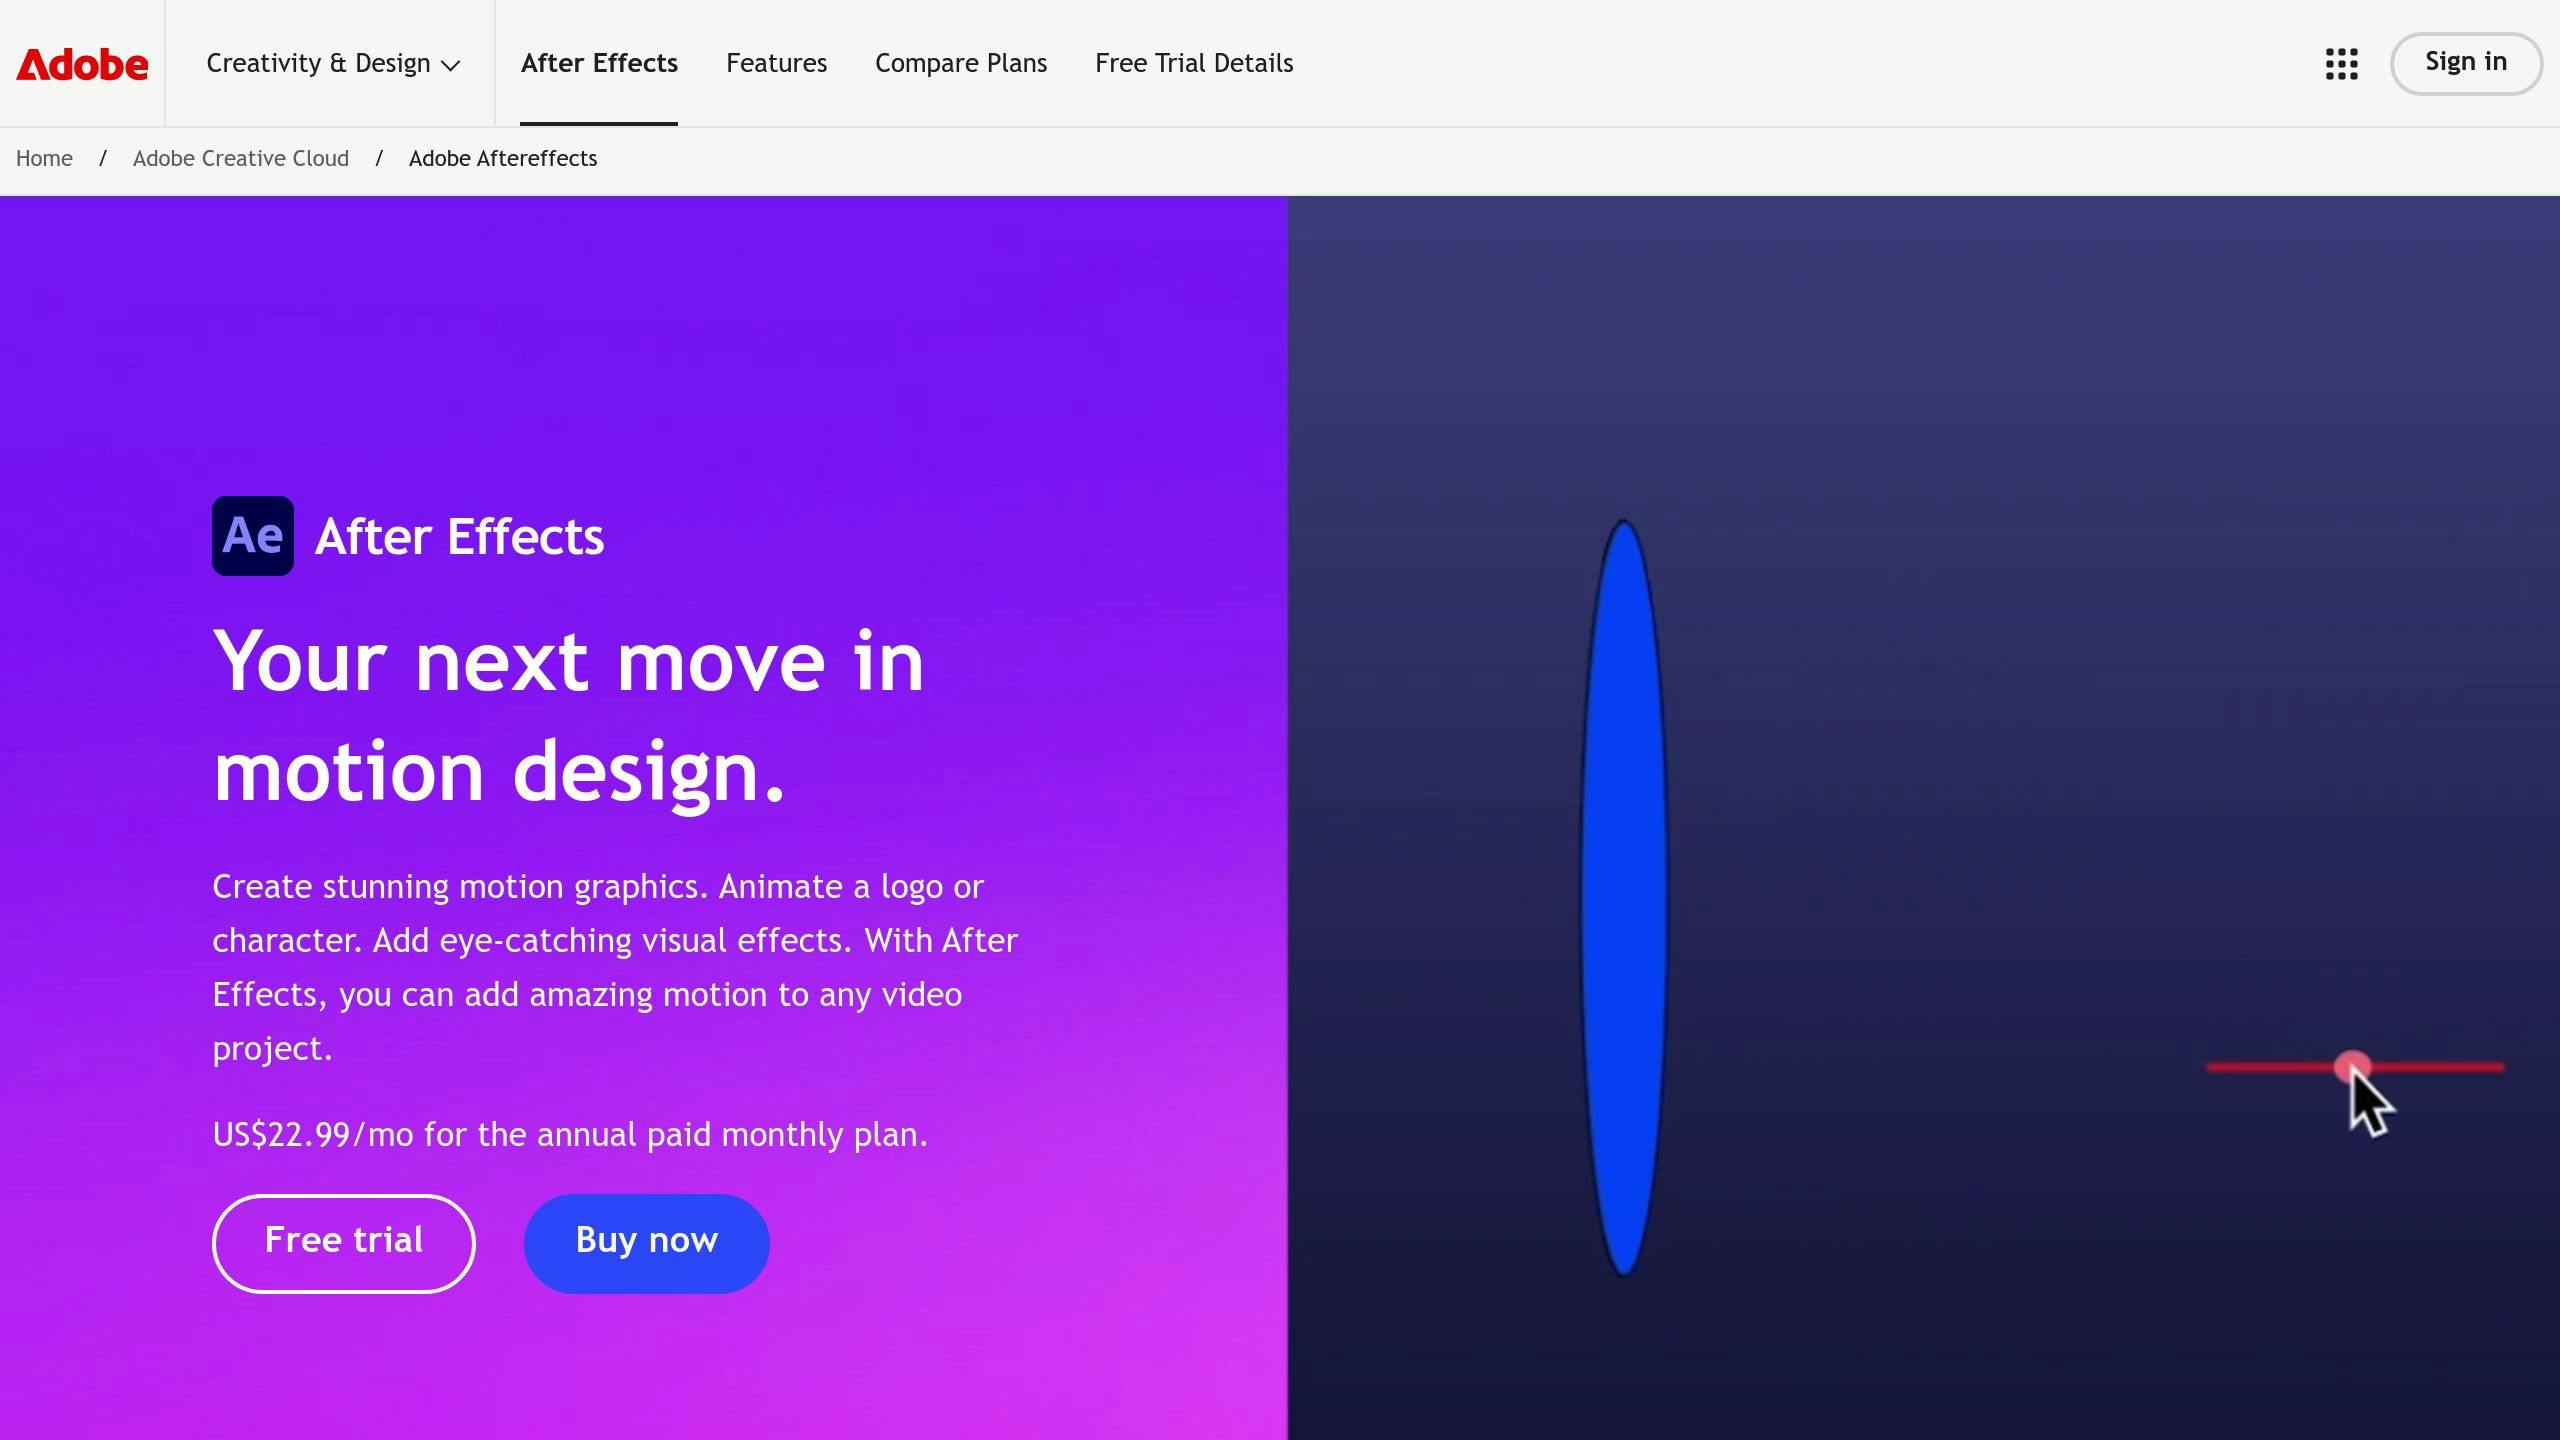
After Effects is a pro favorite. It's $35.99/month and part of Adobe's Creative Cloud.
What's cool about it?
- Tons of visual effects tools
- Works with other Adobe stuff
- Good for 2D and 3D
But heads up: it's not easy to learn.
Nuke

Nuke is the big gun for high-end film and TV.
How much?
- Nuke Indie: $499/year
- Full version: Starts at $3,469/year
What's it good for?
- Complex compositing
- Node-based workflow
- 3D and CGI integration
It's for the pros working on big projects.
Blackmagic Fusion
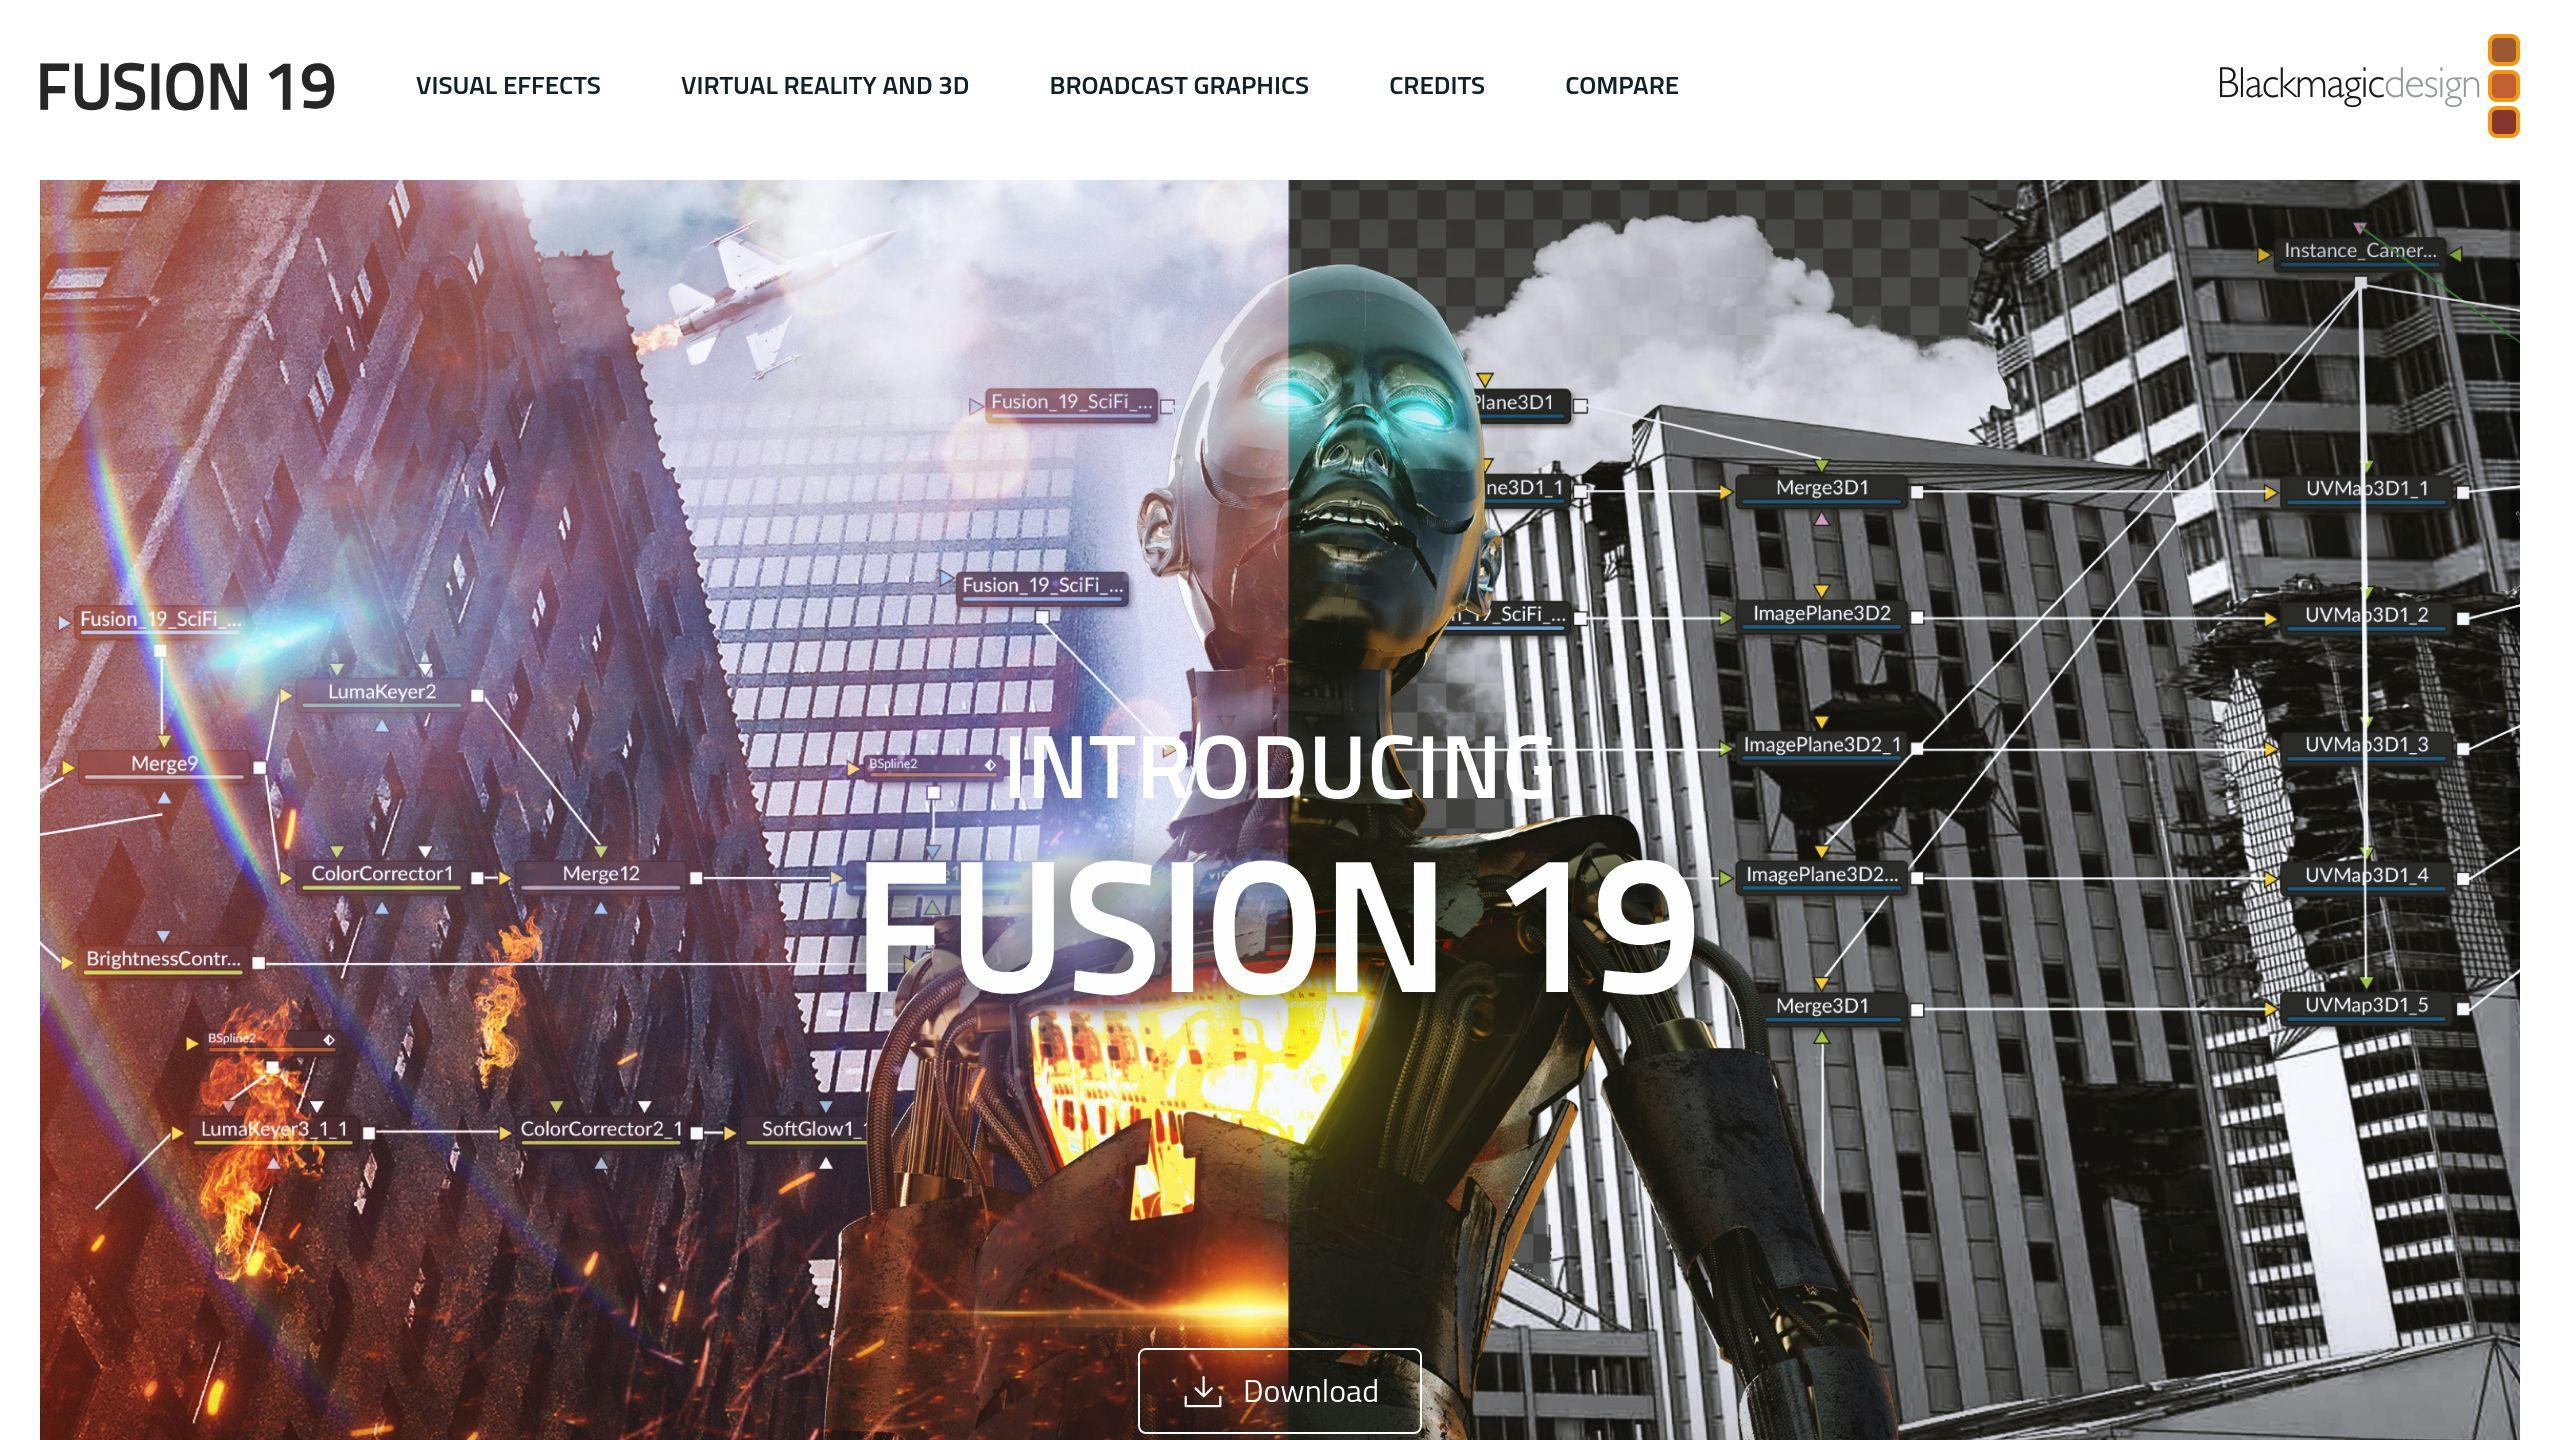
Fusion has a free version and a $295 Studio version.
What's cool?
- Node-based compositing
- 3D workspace
- VR tools
It's a solid middle-ground option.
HitFilm

HitFilm comes in free and paid flavors:
- HitFilm Express: Free
- HitFilm Create: $7.99/month
- HitFilm Pro: $12.99/month
What's neat?
- All-in-one editing and VFX
- Tons of VFX presets in Pro
- Particle simulators
Great for beginners and intermediate users.
Quick Comparison
| Software | For Who? | Price | Cool Feature |
|---|---|---|---|
| After Effects | Industry pros | $35.99/month | Adobe integration |
| Nuke | High-end pros | From $3,469/year | Advanced 3D |
| Fusion | Mid-range users | Free - $295 | 3D workspace |
| HitFilm | Beginners to intermediate | Free - $12.99/month | All-in-one package |
Pick based on your needs, budget, and skills. New to this? Try HitFilm or Fusion's free version. Pros often go for After Effects or Nuke.
sbb-itb-bc761f5
Advanced Compositing Skills
Let's dive into some pro-level techniques to elevate your compositing game.
Mixing 2D and 3D
Blending 2D and 3D elements? It's not as tough as you might think:
1. Set up your scene
First, organize your 3D elements in Maya. Make sure your camera, lights, and materials match your 2D stuff.
2. Use render layers
Set these up in Maya's Render Setup window. Trust me, it'll give you way more control later.
3. Import and align
Bring your 3D renders into your compositing software. Line everything up - horizon, shadows, the works.
4. Match the look
Tweak colors and add effects. Your 3D elements should feel right at home with the 2D ones.
Adding Particle Effects
Want to make your scenes pop? Particle effects are your friend:
- Pick your software: Choose one that fits your project and skills.
- Set up your emitter: This is your particle generator. Play with speed, direction, and lifespan.
- Tweak behavior: Mess with gravity and turbulence until it looks right.
- Customize appearance: Change size, color, and opacity over time.
- Keep it snappy: Use proxies and limit particles to avoid slow renders.
Camera Effect Simulation
Make your work more engaging with these camera tricks:
- Depth of field: Blur parts of your scene. It's like a real camera's focus.
- Motion blur: Add blur to moving objects. It just looks more natural.
- Lens flares: Use plugins or make your own. Instant cinematic feel.
Blending Elements Naturally
The secret sauce? Making everything look like it belongs:
- Match lighting: Adjust shadows and highlights.
- Color grading: Use color correction for a unified look.
- Add transitions: Blur or glow effects can smooth out edges.
- Use masks: Control where elements appear with custom masks.
Fixing Common Problems
Compositing in animation can be tricky. Here's how to tackle some common issues:
Edge Problems
Edge problems can make your composited elements look fake. Here's how to fix them:
- Feather the edges
- Match edge color to the background
- Add a touch of motion blur to moving objects
Color Mismatches
When colors don't match, your scene falls apart. Try these:
- Use color correction tools
- Apply color grading
- Add subtle color overlays
Render Issues
Render problems slow you down. Here's what to do:
1. Clear your software's memory
Free up resources by purging RAM and disk cache.
2. Lower preview quality
Speed up rendering while you work.
3. Use proxies
Work with lower-res versions of assets for better performance.
4. Separate your disk cache
Store it on a different drive from your project files.
"You'll quickly forget which layers do what. When it comes to tweaking your work later, it will save you time and possibly frustration." - Unmesh Dinda, PiXimperfect
Remember: Good compositing is invisible. If it looks right, it is right.
Improving Your Workflow
Want to boost your compositing efficiency? Focus on these key areas:
Using Templates
Templates are a game-changer. They save time and keep your projects consistent. Here's how to make the most of them:
- Create Motion Graphics templates (MOGRTs) for tasks you do often
- Name them clearly and add keywords so you can find them easily
- Use Creative Cloud libraries to keep your MOGRTs organized and shareable
- Lock down certain elements to keep your brand look consistent
Did you know? Adobe Stock says MOGRTs can make your graphics workflow 350% faster. That's huge!
Automating Tasks
Let's face it: some jobs are boring and repetitive. That's where automation comes in:
- Use Python API in Nuke to automate tasks
- Set up batch processing for routine stuff
- Create scripts to set up and organize your templates
TECH-VA has some cool Nuke-compatible tools:
| Tool | What it does | How fast it is |
|---|---|---|
| V Marker | Spots markers | 1 frame every 2 seconds |
| V Alpha Predict | Pulls green/blue key | Almost real-time |
| V Alpha Train | Tunes keyer for best results | Depends on your needs |
Working with Others
Teamwork makes the dream work, right? Here's how to collaborate like a pro:
- Use Nuke's LiveGroups to work on different parts of a shot at the same time
- Come up with clear names for files and folders (and stick to them!)
- Use version control to keep track of changes
"Some studios use LiveGroups so well, they only have to manually composite half their shots. The rest? They just reuse effects and treatments that have already gotten the thumbs up."
Tips for High-Quality Work
Want to create top-notch compositing work? Here's what to focus on:
Details Matter
In compositing, it's the little things that count:
- Clean edges when blending
- Matching colors across layers
- Consistent lighting throughout
- Shadows and reflections that look real
"Quality is key. People shouldn't spot it's a composite at first glance", says Andreas Kremer, Fine Art Photographer.
Keep It Cohesive
Your project should look like one piece:
- Stick to a color palette
- Match light direction and strength
- Line up perspectives
- Use the same image quality everywhere
Hayley Roberts, Conceptual Fine Art Photographer, warns:
"Bad shadows can ruin a good composite."
Art Meets Tech
Blend creativity with tech skills:
| Art Side | Tech Side |
|---|---|
| Tell a story | Work within software limits |
| Use color theory | Manage render times |
| Nail the composition | Keep files organized |
| Set the mood | Work with your hardware |
Hugo Guerra, a director and VFX pro, often talks about this balance in his tutorials.
Don't rush. Quality takes time. As School of Motion puts it:
"Practice makes perfect. Or at least shows you it's harder than it looks."
Conclusion
Compositing is where the magic happens in animation. It's the final step that brings everything together.
Here's what we've covered:
- Combining Layers: Blending elements to create a cohesive whole.
- Color Adjustment: Making sure colors match across all elements.
- Masking and Detail Work: Controlling what's visible with precision.
- Background Removal: Getting rid of backgrounds for seamless integration.
- Movement Tracking: Making added elements move naturally with the scene.
Ben Fischler from Animation Mentor says:
"Compositing is often considered the Finishing Touch of any VFX or animated shot, the place where it all comes together."
To up your game:
- Practice daily
- Learn new software (After Effects, Nuke, Blender)
- Keep up with new tech and techniques
AI tools like WonderStudio are shaking things up. They can automate some tasks, but they're here to boost creativity, not replace it.
Steve Cook from Fog Coast Productions puts it this way:
"The question isn't whether AI will take our jobs. The question is how will AI democratize creativity and allow us to push the boundaries on the quality and quantity of the content we want to produce."
FAQs
What is animation compositing?
Animation compositing is where the magic happens in 3D animation post-production. It's like putting together a puzzle, but way cooler.
Here's what it involves:
- Taking render passes from production
- Mixing them with other images or adjustment layers
- Creating a final, polished composition
Why is this so great? It lets you:
- Tweak things without redoing entire scenes
- Add 2D visual effects
- Fine-tune depth of field and color
Think of compositing as the glue that holds everything together. It's where all the pieces of your animation come together to create something awesome.
The process looks like this:
1. Gather all your elements
2. Set up the scene
3. Organize your layers
4. Fine-tune the details
5. Render the final output
After that, you'll do color correction and grading to make everything look just right.
| Compositing Element | What It Is |
|---|---|
| Layer | A group of assets you can edit easily |
| Plate | Raw footage used as a base |
| Comper | The artist who does the compositing |
Green screen compositing? Here are some tips:
- Match the lighting for foreground and background
- Don't over or underexpose the background
- Use tools like spill suppression and edge blending
- Plan your shots for perspective and scale
- Use a color chart to calibrate